



Post event marketing is everything you publish, send and ask for in the two weeks after the doors close. It's also where a lot of events leave reach on the table, because the team is exhausted, the photos sit in a shared drive, and the only thing that goes out is a thank-you email nobody remembers by Friday.
The plan below covers the 14 days after a B2B conference or summit, roughly day by day: the photo drop, the thank-you email, "I was there" posts, the recap, the sponsor report and the save-the-date. You won't need every piece for a 60-person meetup. For a 400-person summit you probably will, and you'll want most of it prepared before the event even starts.
Why post event marketing decides next year's ticket sales
Post event marketing is how the people who didn't attend find out what they missed, and that small sting of missing out is the cheapest ticket driver you'll ever have. Your attendees went home with notes, photos and new contacts. Their networks? Full of people with the same job titles and the same budget cycle (who are, conveniently, next year's audience).
The window is short, though. A week after the event, attendees are back in their inboxes and the urge to post fades, so anything you want them to share has to be ready while the event is still the topic in their heads. That's why this plan front-loads the asks and pushes the slower work, like the long recap and the sponsor report, into the second week.
There's a second audience too. Sponsors and speakers decide whether to come back based on how visible they were, and "it was a great event" isn't a number you can put in a renewal deck.
Post event follow up in the first 48 hours
The first 48 hours are for getting photos out and sending a thank-you email that asks for exactly one action. Everything else can wait until Monday.
Get the photos out within a day
Photos fuel every attendee post that follows. If the gallery takes two weeks, the posts don't happen, because nobody writes a heartfelt reflection ten days later with a stock image. Agree with your photographer before the event on a fast selection (say 80 to 150 edited shots by the next evening) and the full set later.
Put the gallery behind one simple link, sorted by day or by session, and tell people plainly that they may use the images with a credit. Speakers look for stage shots of themselves first. A folder per speaker saves them twenty minutes of scrolling, which makes it much more likely that they post while the applause is still a recent memory.
A thank-you email with one job
Most thank-you emails try to do six things at once. Pick one main ask for day one. For most events that's the photos plus an invitation to share, because the survey can follow on day 11 when people have had time to think about what they'd change.
Keep it short. A thank you, the gallery link, the page where they can create their "I was there" graphic and a caption they can copy. That's the whole email.
Days 3 to 5: "I was there" posts from attendees and speakers
Days three to five are when attendees are most likely to post a reflection, so give them something branded to post it with. A personalized "I was there" graphic (their photo, your event branding, maybe the name of the session they spoke at) stands out in the feed more than a blurry crowd shot, and it carries your event name into every network it reaches.
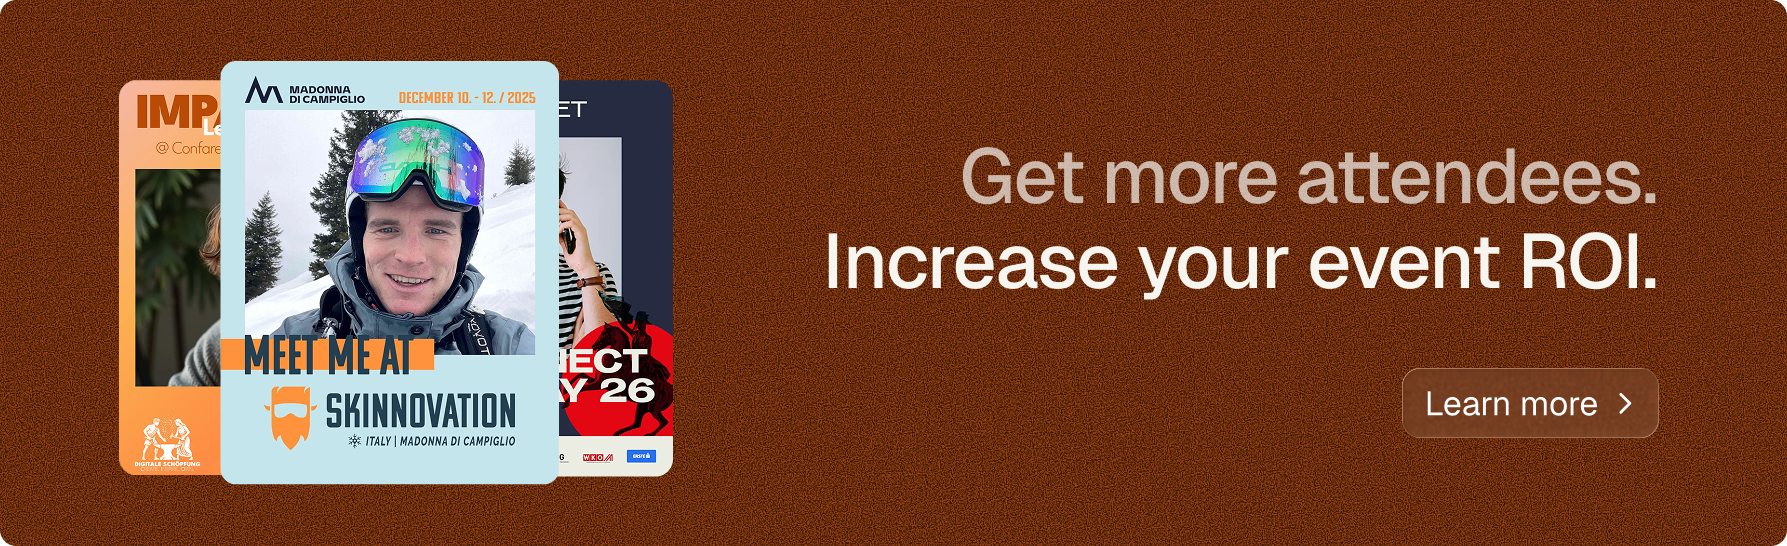
If you ran a Meet Me At campaign before the event, you don't need a new process. In Go Spread you upload a new template for a campaign page, change the wording from "Meet me at" to "I was at", and send the link again. People upload a photo, get their graphic as a LinkedIn post or 9:16 story, pick a suggested caption and post with one click. Speakers get their own Speaker version, which matters because a speaker's network is often bigger than an attendee's. Our guide on getting speakers and attendees sharing on LinkedIn covers the asks in more detail.
Be realistic about who posts. A share link won't create reach if nobody uses it, and most attendees won't post without a nudge. So ask twice (once in the thank-you email, once on day four) and ask every speaker personally.
Caption starters for post event content
People often skip posting because they don't know what to write, so hand them a first line. A few that sound like a person wrote them:
- "Two days at [Event], a notebook full of ideas and one I'm still arguing with."
- "Spent the week with people who have the exact same hiring problem as us. My notes from [Event] below."
- "Thanks to everyone who came to my session on [topic]. Slides are in the comments."
- "The best conversation at [Event] happened at the coffee bar, not on stage."
For more variations by role, see our list of LinkedIn captions for events.
Days 6 to 10: the recap and the post event content you cut from it
The second week belongs to the recap, and the recap is a source rather than a single post. Write one solid piece (a blog article or a long LinkedIn post) and cut five or six smaller pieces out of it for the days that follow. In post event marketing, this is the piece that keeps your company page busy while attendees go quiet.
A good recap names the sessions that landed, quotes speakers (with their OK) and shows photos of real people. It should read like notes from someone who was in the room. And it should say plainly when the next edition happens, even if all you have yet is a month and a city.
From that one recap you can pull a speaker quote card, a short clip from the keynote, a photo carousel and a thank-you to sponsors. The attendee posts you collected count as content too; resharing the best ones (with permission) is the easiest material you'll ever publish. Our piece on user-generated content at events explains how to collect and reuse them.
When to publish on LinkedIn
Mid-week, late morning to afternoon local time, is a safe default. Sprout Social's 2026 analysis of nearly 2 billion engagements across 307,000 social profiles found that Tuesday, Wednesday and Thursday offer the most consistent periods of peak engagement on LinkedIn, with weekends the weakest days. So if your event ends on a Thursday, don't publish the recap on Saturday. Hold it for Tuesday and let the photo gallery carry the weekend.
Days 11 to 14: the post event afterburn for sponsors and next year
The last stretch turns the buzz into things that pay. Afterburn is a fitting word for it, because the reach is still there, it's just cooling.
Send the survey on day 11, keep it under five minutes, and include one question you'll act on ("what almost stopped you from coming?" is a good one). Then build the sponsor report while the numbers are fresh. A sponsor report worth sending usually has:
- Attendance, plus the share of attendees in the roles or industries the sponsor cares about.
- Their visibility on stage, in emails and on the event page.
- Social reach from the Partner graphics their team posted, if you ran a sponsor campaign.
- Photos of their booth or session, ready to reuse.
- A short note on what you'd change for them next year.
The sponsor side gets a fuller treatment in our guide to sponsor activation at events. Close the 14 days with the save-the-date and an early-bird link sent to attendees first, because they're the warmest buyers you have and they've just watched their peers post about your event for two weeks.
Your 14-day post event marketing plan on one page
The whole plan fits in one table you can copy into your project tool. Shift the days if your event ends on a Friday, but keep the order: assets first, posts second, reporting last.
| Day | What goes out | Owner |
|---|---|---|
| Day 1 | Edited photo selection, thank-you email with gallery and share link | Event team |
| Day 2 | Speaker photo folders and a personal ask to each speaker | Speaker manager |
| Days 3 to 5 | Reminder for the "I was there" graphic, reshares of the best attendee posts | Social lead |
| Days 6 to 7 | Recap written and published mid-week | Content lead |
| Days 8 to 10 | Quote cards, keynote clip, photo carousel, sponsor thank-you | Social lead |
| Day 11 | Attendee survey | Event team |
| Days 12 to 13 | Sponsor report built and sent | Partnerships |
| Day 14 | Save-the-date and early-bird offer, attendees first | Marketing |
How to measure post event marketing without fooling yourself
Measure what your post event marketing produced for next year, not how busy it felt. Likes on your company page tell you very little on their own. Count how many attendees and speakers posted, the impressions those posts got, clicks to your next-edition page and early-bird sales in the week after the save-the-date.
Some of this comes from your ticketing tool and some you'll collect by hand. Go Spread's analytics show views, downloads and LinkedIn impressions for a graphic campaign, which covers the attendee-post side. For scale, the first 20 Go Spread campaigns produced about 100 posts and around 250,000 impressions, or roughly 2,500 per post. Treat that as a reference point rather than a forecast, since your audience and timing will differ.
Then compare the results against what the two weeks cost in time and money. Our breakdown of event marketing ROI walks through the formula and the numbers worth tracking.
Start your post event marketing before the closing keynote
The easiest post event marketing is the kind you prepared before the event, because on day two nobody on your team will have the energy to design anything. So before your next event, do one thing: build the "I was there" template and write the thank-you email, then schedule both for the morning after. You can set up the graphic for free on Go Spread and have the link ready before the first attendee walks in.