




An attendee recognition badge is a branded digital graphic, usually an "I'm attending" or "I was there" badge with the guest's name and photo, that people post on LinkedIn to show they're part of your event. It works as recognition for the guest and as free reach for you, as long as it's designed to be posted rather than filed away.
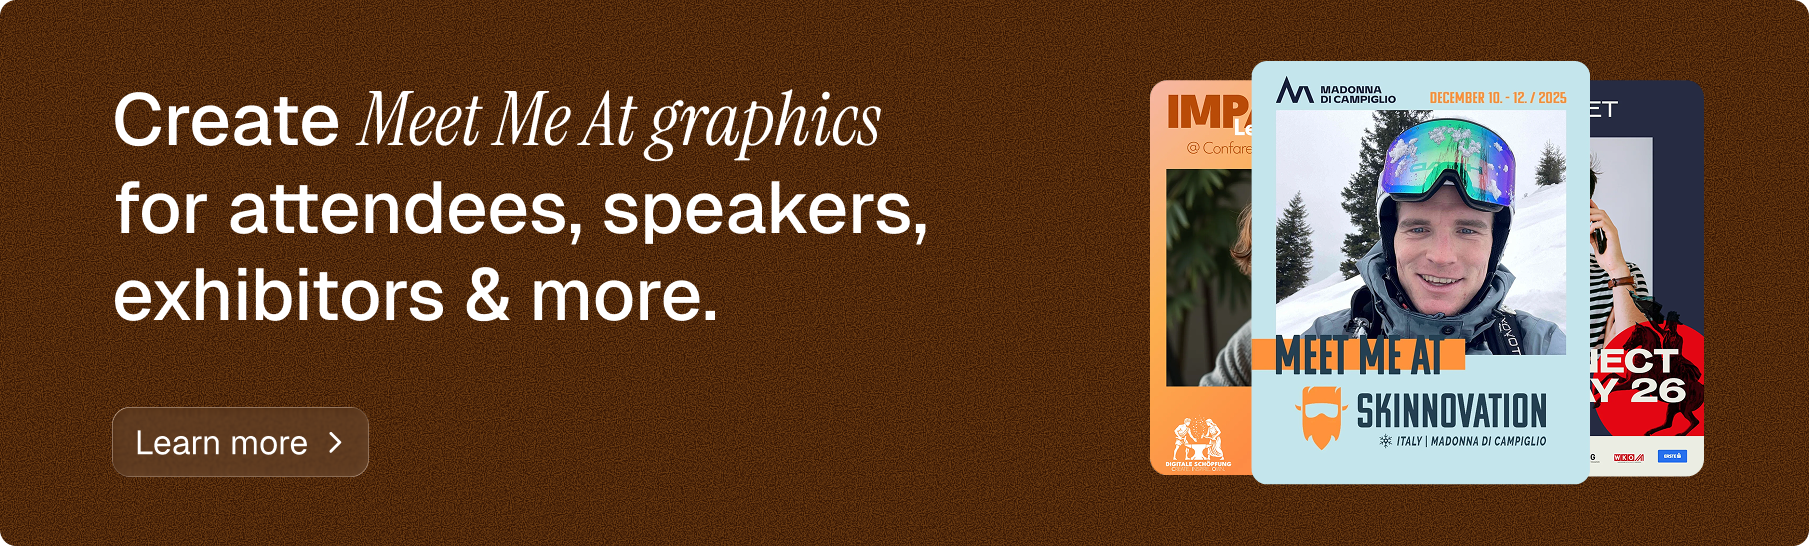
Most events already hand out a badge. It's on a lanyard, it has a barcode, and it ends up in a drawer. The digital version has a different job. It lives in a LinkedIn feed for a few days, gets a handful of comments from people who are also going (or wish they were), and tells everyone in the guest's network that this event is where their peers spend their time.
What is an attendee recognition badge, and what isn't it?
An attendee recognition badge is a social graphic. It says "I'm going" or "I was there," carries your branding and the guest's face, and exists to be shared. It doesn't certify anything.
That distinction matters because "digital badge" also means something more formal. In the education and training world, a badge often refers to a verifiable credential. The 1EdTech Open Badges standard, for example, describes a badge as a way of packaging information about a single recognition or achievement, with metadata about who issued it, who earned it and the criteria behind it, digitally signed by the issuer. If your event awards continuing education credits or a completed course, that's the kind of badge you want, and it's a separate tool.
Most conferences, summits and meetups don't need that. They need a good-looking graphic that guests are proud to post. That's what this guide covers.
Why a digital event badge gets posted when your logo doesn't
Guests post things that are about them. Your event logo, however nice, is about you. A digital event badge with the guest's photo and name turns the same announcement into personal news, and personal news is what people share on LinkedIn without feeling like they're doing your marketing.
There's a status element too, which is fine to admit. Being a speaker, a returning guest or one of the first 200 to register is something people like to be seen with. A badge that names that role gives them a reason to post that has nothing to do with helping you sell tickets (even though it does).
And the reach adds up. Across Go Spread's first 20 campaigns, about 100 posts per campaign produced around 250,000 impressions, roughly 2,500 per post. Those are averages across event campaigns, not a promise, but they give you a realistic sense of what a badge campaign can do when people actually post.
Event badge ideas by role and moment
One generic badge for everyone is the most common mistake. Different people have different reasons to post, and the badge should name that reason. These are the variants we'd consider for a mid-sized conference:
- "I'm attending" or "Meet me at" for every registered guest, released right after registration
- Speaker badges with the session title and time slot
- Returning guest badges ("My third year at..."), which reward loyalty and signal that the event is worth coming back to
- Volunteer, ambassador or host badges for the people who make the day work
- "Visit us" badges for exhibitors and sponsors, with booth number
- "I was there" badges after the event, ideally with space for a real photo from the day
You don't need all six. Two or three, well designed, beat six rushed ones.
The "I'm attending" badge before the event
This is the workhorse. It goes out with the confirmation email and again a week or so before the event, and it's the one that sells tickets, because each post puts your event in front of people who know the attendee and might want to join. Our guide to the Meet Me badge covers this format in more detail.
The "I was there" badge after the event
Post-event badges are underrated. Guests come home with energy, a few new contacts and a reason to write a short recap post, and a badge gives that post a visual. It won't sell tickets for this year's event, but it builds the case for next year's, and it gives sponsors one more round of visibility.
Recognition badges for speakers, volunteers and returning guests
Speakers will post anyway, but a branded speaker badge makes sure their post looks like your event and includes the date. For volunteers and returning guests, the badge is the recognition itself. Saying "thank you" in a public, shareable way costs you nothing and tends to be remembered. If speakers are your focus, our speaker announcement template guide goes deeper.
What goes on an attendee badge for LinkedIn?
Less than you'd think. A badge is seen for a second or two while someone scrolls, so it has to work at a glance.
| Element | Why it's there |
|---|---|
| Guest photo | Makes the post personal and stops the scroll |
| Guest name (and optionally role) | Shows who's going, which is the point |
| Headline ("I'm attending," "Speaker," "Visit us") | Says why the person is posting |
| Event name, date and city | Lets viewers decide whether they could go too |
| Event logo and brand colors | Ties every post back to the same event |
Leave out the agenda, the sponsor wall and the full venue address. That belongs on your event page, which the caption can link to.
Formats to prepare
A square or portrait LinkedIn post format covers most uses. A 9:16 story version is worth adding if your audience also posts on Instagram or WhatsApp status, and a landscape version helps people who want to use it in an email signature or a blog post. For exact dimensions, see our LinkedIn event banner size guide.
Design rules that make attendee recognition badges readable in a feed
Good badges look like your brand, not like a template someone found online. A few practical rules help:
- Big type for the headline, readable on a phone without zooming
- A photo area large enough that faces are recognizable at thumbnail size
- Strong contrast between text and background, especially on gradients
- Room around the edges, since LinkedIn crops differently on mobile and desktop
- An animated background only if it stays subtle (a slow gradient shift, not flashing)
Test the badge with three different photos before launch: someone with a light background, someone with a dark one and someone wearing a busy patterned shirt. If all three look fine, you're done.
How to roll out your badges without chasing people
Put the link in the registration confirmation email, because that's when guests are most excited. Send it again five to seven days before the event, when people are planning their week. Add two or three suggested captions so nobody has to stare at an empty text box; something like "I'll be at the Fintech Forum in Amsterdam on June 12. If you're working on embedded payments, let's grab a coffee" works far better than "Excited to attend!" Our article on attendee graphics has more on timing.
For speakers, sponsors and volunteers, send a separate message with their own badge type. People respond better when the ask is clearly meant for them.
What to do if the first wave is quiet
If only a handful of guests post in the first week, the badge usually isn't the problem. Check where the link sits in the email (near the top, or buried under the ticket details?), whether the suggested captions sound like something a real person would write, and whether a few visible people have gone first. Ask your speakers and a couple of well-connected regulars to post their attendee recognition badge early, because guests tend to copy what they see others doing. And send the reminder from a person on your team rather than a no-reply address. A short, plain email that says "Here's your badge, it takes 30 seconds" usually beats a designed newsletter.
Making attendee recognition badges with Go Spread
Go Spread is built for exactly this kind of badge. You upload your own design (SVG or PNG, with a transparent overlay or a full graphic) or start from one of 17 templates, import your brand colors and logo, and set up graphic types for Meet Me At or Attendee, Speaker, Partner or Sponsor, and Visit Us. Guests open your campaign page, add a photo, get their personalized badge in LinkedIn post, 9:16 story or landscape format, pick a suggested caption and post to LinkedIn in one click. Animated backgrounds export as GIFs.
You see views, downloads and LinkedIn impressions in the dashboard. What Go Spread doesn't do is issue certificates or verifiable credentials, so if you need formal proof of attendance for training credits, pair it with a credentialing tool.
Design your first attendee recognition badge this week
Pick one badge to start with: the "I'm attending" version for all registered guests. Sketch the five elements from the table above, test it with three photos and put the link in your next confirmation email. Once that's live, add a speaker variant. You can build the first badge on Go Spread for free and see how many guests post it before you invest in more variants.